How to Convert PDF to JPG for Any Use Case (Complete 2026 Guide)
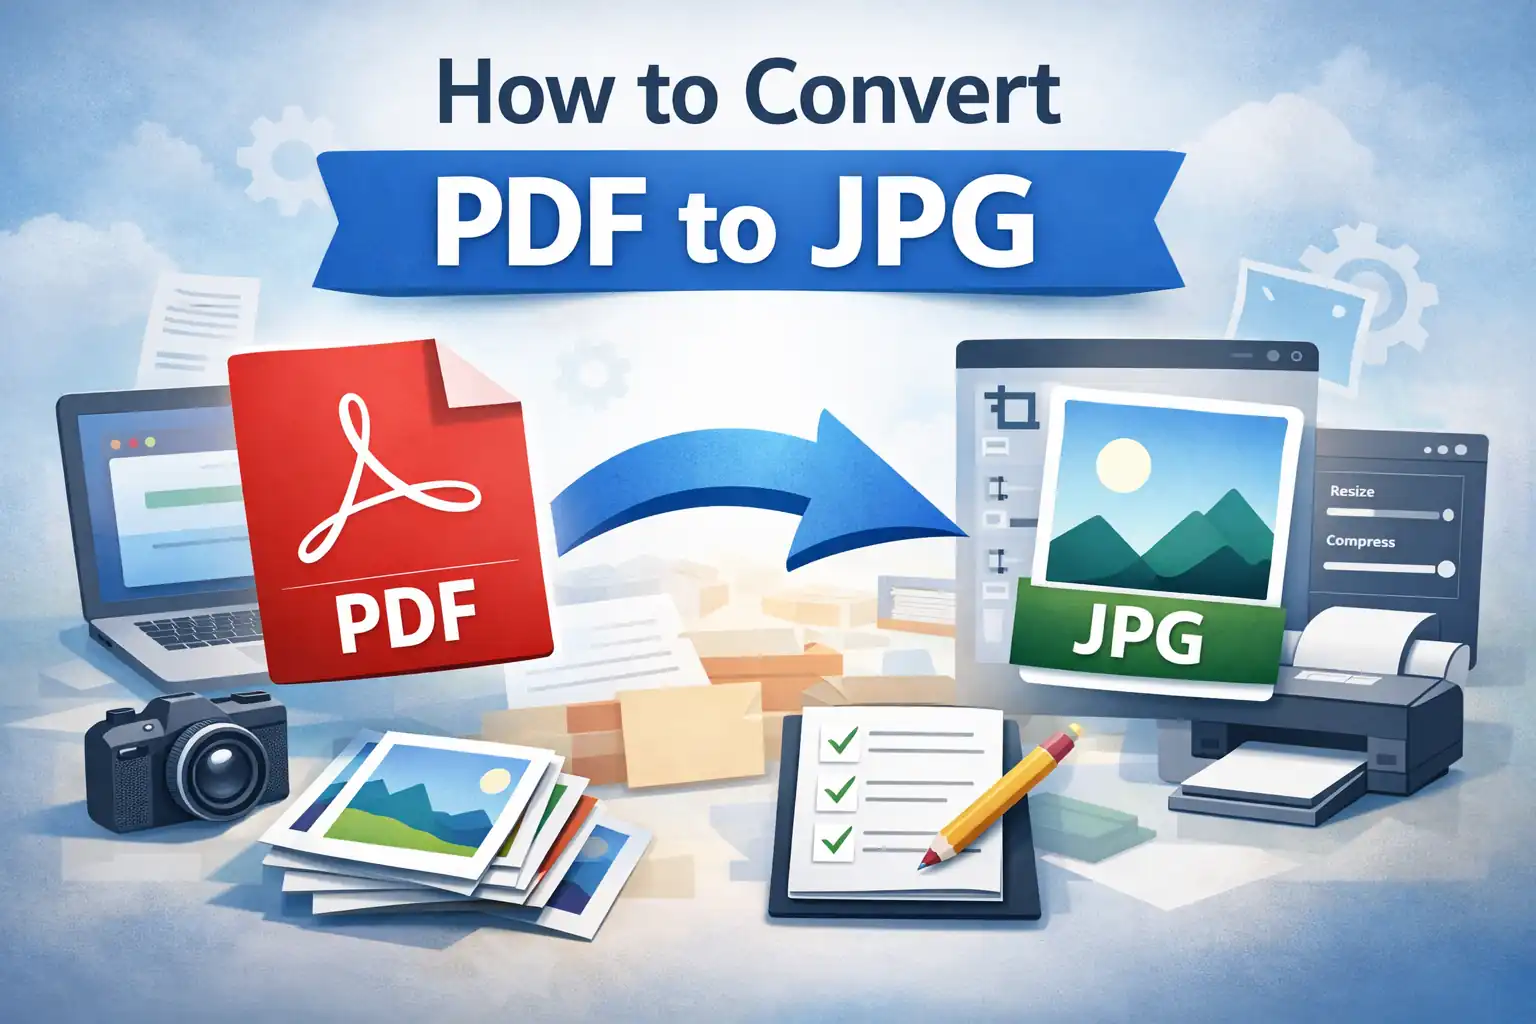
Convert PDF to JPG the right way for sharing, uploads, printing, previews, and editing. Learn DPI, quality, file-size tips, batch workflows, and fixes for blurry pages.
PDF to JPG: What Conversion Actually Does to Your Document
Most guides skip straight to "upload and click convert." This one explains what's actually happening — so you can make the right call for your situation.
PDF and JPG are built on completely different ideas
A PDF is not an image. It's closer to a set of instructions: render this text at position X using font Y at size Z, place this vector shape here, embed this photograph there. When you open a PDF, your computer follows those instructions live — which is why text stays sharp at any zoom level, and why you can select, copy, and search it.
A JPG is a frozen snapshot. It records the final visual result as a grid of millions of colored pixels. There are no layers, no font information, no selectable text. Just pixels.
Converting a PDF to JPG is like making a photograph of a document. The photograph looks like the document. But it is not the document anymore.
That distinction has real consequences depending on what you need to do with the file afterward.
What a PDF can do that a JPG cannot:
- Text remains selectable and searchable
- Stays sharp at any zoom level or print size
- Can be edited in the original application
- Hyperlinks remain clickable
- Smaller file size for text-heavy documents
- Forms can be filled interactively
What a JPG loses permanently:
- Text becomes unselectable pixels
- Quality cannot exceed the original render resolution
- No editing without redrawing
- No links or interactivity
- Lossy compression introduces visual artifacts around fine lines and text edges
Important: Conversion from PDF to JPG is a one-way operation. You can always re-export a JPG from the original PDF, but you cannot recover the text, structure, or editability from a JPG. Always keep the original PDF.
The legitimate reasons to convert anyway
Given those trade-offs, why convert at all? Because the situations where JPG genuinely serves you better are very real.
Platform compatibility is the biggest driver. Many government, HR, and visa portals were built years ago and only accept image uploads. The portal doesn't have a philosophical objection to PDFs — it simply doesn't handle them. When a system rejects your PDF, conversion isn't a compromise. It's the only path forward.
Sharing speed over shareability. Sending a PDF invoice or receipt over WhatsApp often forces the recipient to download a PDF reader, wait for it to render, and then find the one number they needed. A JPG opens instantly in any photo app on any device. For casual sharing of single-page documents, that friction reduction is real.
Social media and marketing content. Instagram, Facebook, and LinkedIn don't accept PDFs at all. A poster or event flyer exported as a PDF must become an image before it can be posted. Here, conversion is not a degradation — it's the intended final format.
Annotating with image tools. Some markup apps, collaborative whiteboard tools, and photo editors only accept images. If you need to draw arrows on a diagram or hand-write corrections on a document page, converting first is the practical path.
The guiding principle: convert when the receiving system or workflow genuinely requires an image — not because a JPG feels simpler. If you control the destination, PDF is almost always the better format to send.
DPI: the one setting that determines everything
DPI — dots per inch — is the single most consequential setting in PDF-to-JPG conversion. Most guides mention it briefly and move on. That's a mistake.
When a PDF page is rasterized, the software asks: how many pixels should I use to represent each inch of this page? A standard US Letter document is 8.5 × 11 inches. At 72 DPI, the resulting JPG is 612 × 792 pixels — barely readable on a small monitor. At 300 DPI, it's 2,550 × 3,300 pixels — print-sharp.
The trade-off is file size. A 300 DPI image has roughly 17 times more pixels than a 72 DPI version, and a significantly larger file to match.
| DPI | Pixel dimensions (letter page) | Best for | Avoid when |
|---|---|---|---|
| 72 | 612 × 792 px | Quick previews, thumbnails | Anything with fine text or detail |
| 96 | 816 × 1,056 px | Screen display on standard monitors | Forms with small print, diagrams |
| 150 | 1,275 × 1,650 px | Social media uploads, email sharing | Professional print or fine line-art |
| 200 | 1,700 × 2,200 px | Portal uploads needing clarity | When file size is strictly capped |
| 300 | 2,550 × 3,300 px | Professional printing, archival copies | Casual sharing where file size matters |
A critical point most guides miss: the PDF itself is resolution-independent. Its text and vector graphics are mathematically defined, not pixel-based. Higher DPI doesn't recover information that wasn't there — it just samples finer detail that was always present. This is why a low-quality scanned PDF won't look sharper at 300 DPI. The original scan was already pixelated, and that's the ceiling.
Scanned PDFs are a special case. If your PDF is a scan rather than a digitally created document, you can verify this by trying to select text in your PDF viewer. If you can't select anything, it's a scanned image embedded in a PDF container. The DPI setting still affects your output, but you're resampling an image rather than rasterizing clean vectors — the results will be different.
The conversion process, done with intention
Here is the sequence that produces a usable result on the first attempt.
Step 1: Identify what's in the PDF. Open it in a viewer and try to select text. If you can, it's a vector PDF — higher DPI will yield sharp results. If you can't, it's a scanned image — quality is already fixed, and DPI above the original scan resolution adds file size without adding sharpness.
Step 2: Convert only the pages you need. Converting a 40-page document when you need page 7 creates 39 files you didn't want, wastes processing time, and creates confusion later. Select specific pages before converting at plomz.com/pdf-to-jpg.
Step 3: Choose DPI based on your destination, not habit. Screen sharing or a social post? 150 DPI is enough. Portal upload for a visa form with small print? Use 200–300 DPI. Professional print? 300 DPI minimum.
Step 4: Inspect the result at 100% zoom before doing anything else. Open the JPG in a viewer and zoom to actual pixel size. If small text looks fuzzy or signatures are unclear at 100%, the result will not look better on-screen or in print. Re-convert at a higher DPI now — before discovering the problem after submitting to a portal.
Step 5: Resize or compress only if the destination requires it. Don't compress as a default step. Compress only when a platform enforces a file size limit, and only after confirming quality is acceptable at full size. Resizing to smaller pixel dimensions is more effective than heavy compression and preserves clarity better. Use plomz.com/resize-image for dimensions and plomz.com/compress-image for file size reduction — in that order.
Five failure modes, and how to fix them
The text looks blurry or jaggy, especially at small sizes. Re-convert at a higher DPI — try 200 or 300. If the source is a scanned PDF, the original scan resolution is the ceiling. Blurriness in a scanned document cannot be corrected after the fact.
The platform rejects the image despite it looking fine. Check whether the platform specifies pixel dimensions — not just file size. A 300 DPI letter page is 2,550 × 3,300 pixels. Many government and HR portals cap uploads at something like 1,200 × 1,600 pixels. Use the resize tool to match exactly what the platform requires.
The JPG file is too large to upload or send. Try resizing to smaller pixel dimensions first — this is more effective than compression alone and preserves edge sharpness better. Only compress if resizing alone isn't sufficient. For medical, legal, or identity documents, avoid heavy compression entirely.
Thin lines or charts show artifact banding or fuzzy edges. JPG compression handles fine lines and sharp edges poorly because it blurs high-frequency detail to reduce file size. If your document is primarily charts, diagrams, or line art — and the destination accepts it — PNG format (lossless) will serve you better. If JPG is required, convert at high DPI and apply minimal or no compression.
Colors in the JPG look different from the PDF. PDFs may use CMYK color profiles intended for physical printing, while JPGs use RGB intended for screens. The conversion tool typically handles this automatically, but significant color shifts indicate the source PDF's color profile was designed for print, not screen display. This is expected behavior, not a conversion error.
Privacy and metadata — what conversion removes
PDFs often contain more information than is visible on-screen: embedded author names, creation software, edit history, form field data, and digital signatures. When a PDF is rendered to a JPG, all of that metadata is stripped. The image shows only what was visible — nothing embedded beneath the surface.
For most purposes, this is neutral. But it has two specific implications worth knowing.
Conversion can remove metadata you want to keep. Digital signatures and certified timestamps in PDFs are legally meaningful in many jurisdictions. A JPG has no equivalent mechanism. If you are converting a signed contract or notarized document, keep the original PDF as the legal record. The JPG is a visual reference only, and may not be accepted as proof of signing.
Conversion removes metadata you might not want shared. A PDF created from a Word document may carry the author's name, company, or revision history inside its metadata. The rendered JPG carries none of this. In contexts where you need to share a document without exposing authorship metadata — submitting an anonymous review, for example — converting to JPG effectively sanitizes the file.
Regardless of the tool used, always verify the conversion site uses HTTPS before uploading anything confidential, and delete copies you no longer need after the process is complete.
Three questions to ask before you convert
Run through these before clicking convert on any document.
Does the destination actually require an image? Many systems that prefer images will still accept PDFs. Check the documentation or try uploading the PDF directly first. Avoiding conversion keeps your options open.
Will anyone need to select or search the text? If the answer is yes — even possibly — keep the PDF. A JPG with text that looks readable is not the same as text that is readable by a machine, a screen reader, or a search engine.
Do I still have the original PDF? Never delete the source immediately after conversion. Keep both files. Disk space is cheap. Re-obtaining a document you no longer have is often impossible.
For page-specific conversion with control over resolution, use plomz.com/pdf-to-jpg. Then resize or compress only if the destination requires it — and only after verifying the quality holds.